
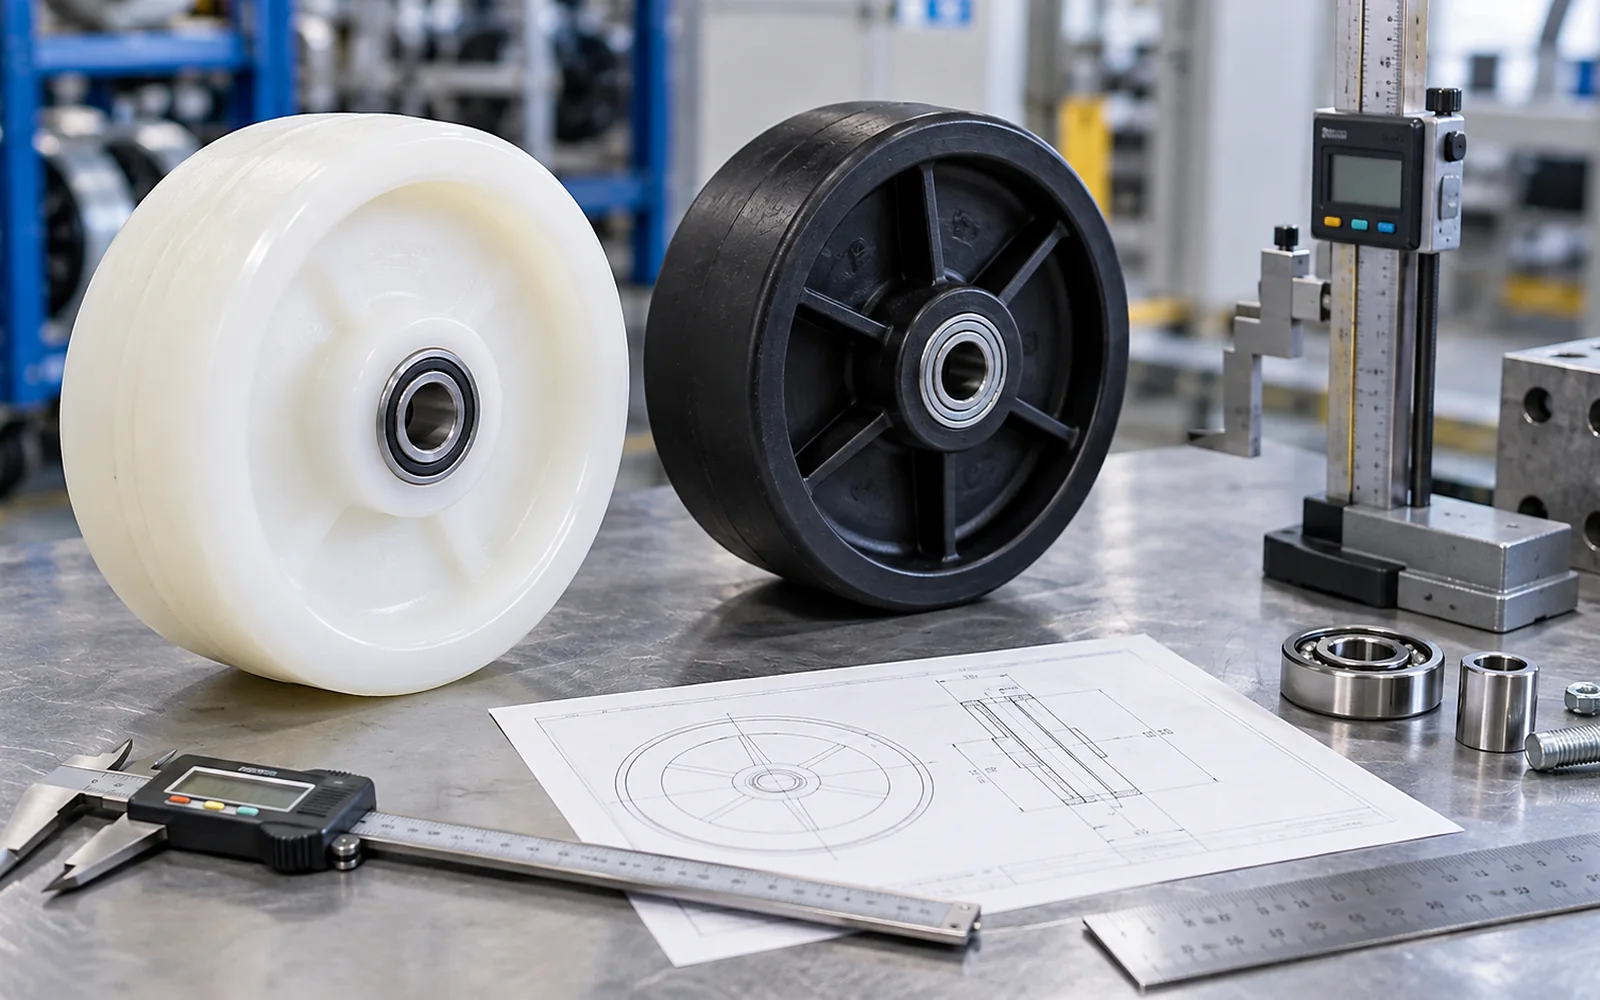
How to Check Wheel Bearing Play Before Installation
A practical buyer guide to wheel bearing play inspection, focused on measurable operating conditions and RFQ-ready decisions.
What the question is really asking
The practical value of wheel bearing play inspection appears only when the specification is tied to the equipment that must move, the floor it runs on and the interface that carries the load.
Within replacement programs and OEM enquiries where fit must be established from an existing assembly or drawing, dimensions controlling fit and the relationship between wheel, axle, hub, bracket and frame should be treated as the first engineering checkpoint. Once that is known, wheel diameter, width, material, bearing arrangement and mounting details can be reviewed in a rational order.
Avoid assuming that a larger wheel, harder polymer or heavier bracket automatically solves the problem. A photograph without scale or diameter without hub information can create a plausible but incompatible replacement. The safest RFQ therefore records dimensioned photos/drawings, wheel and hub measurements, mounting data, load, environment, quantity and model references before a configuration is released for quotation.
Build the operating envelope before comparing products
Before comparing products, write the equipment task in one sentence: what must move, what load it carries, where it travels and how often it is repositioned. That description provides context for wheel bearing play inspection without turning one parameter into a universal rule.
For replacement programs and OEM enquiries where fit must be established from an existing assembly or drawing, the first review should cover dimensions controlling fit and the relationship between wheel, axle, hub, bracket and frame. If a value is not known, mark it for measurement rather than substituting a typical number. The purpose of the RFQ is to close gaps, not hide them.
Measure the interface that can make or break the replacement
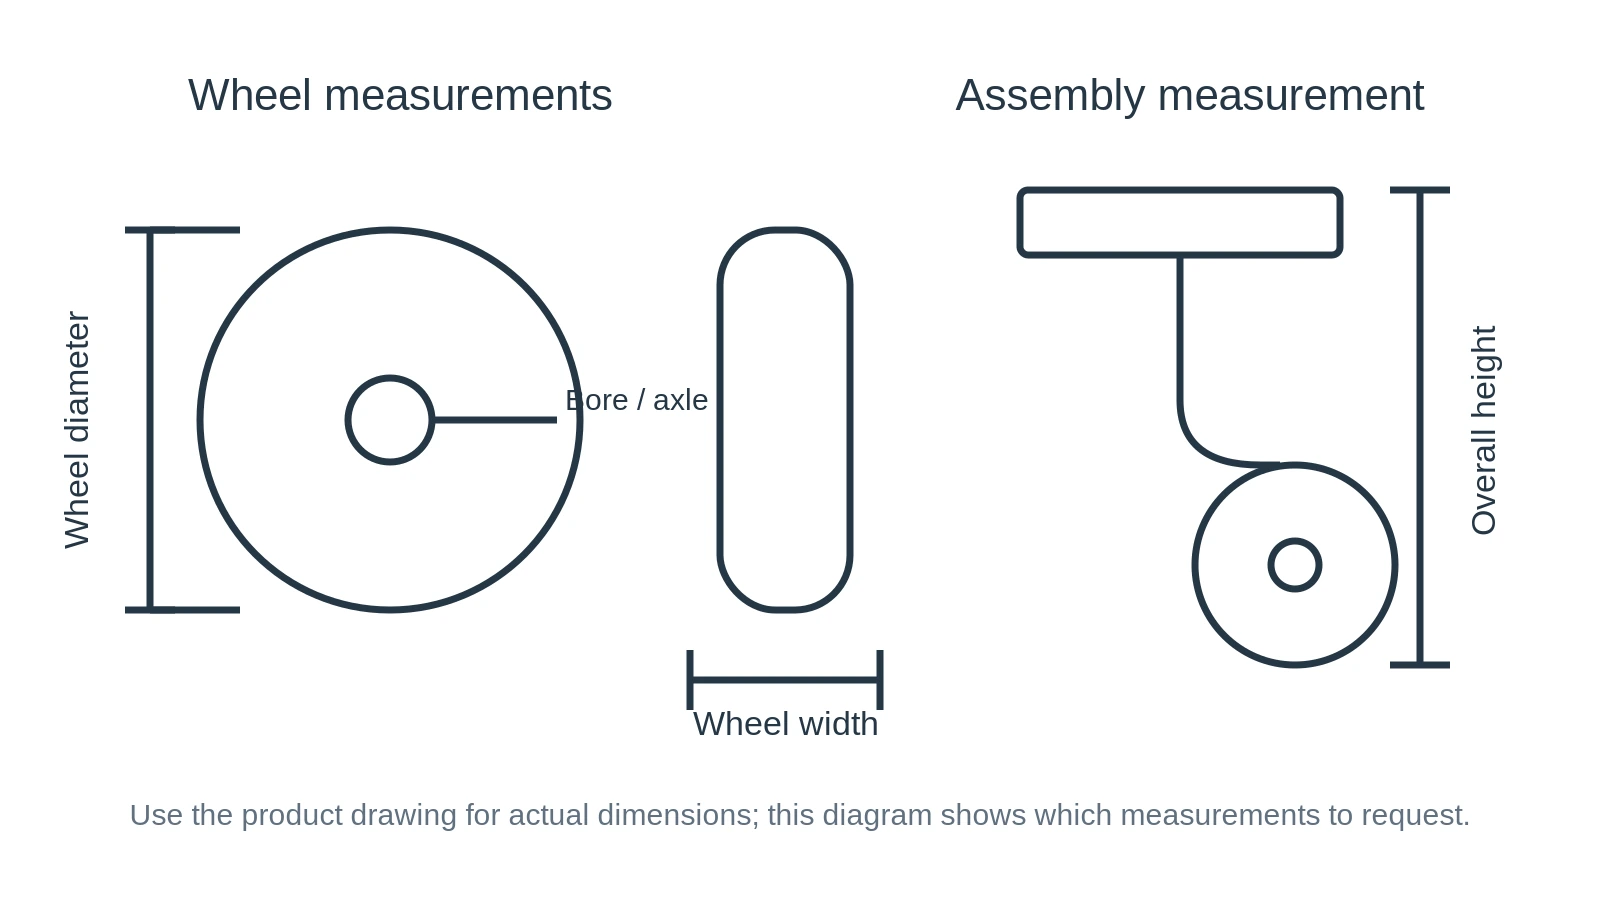
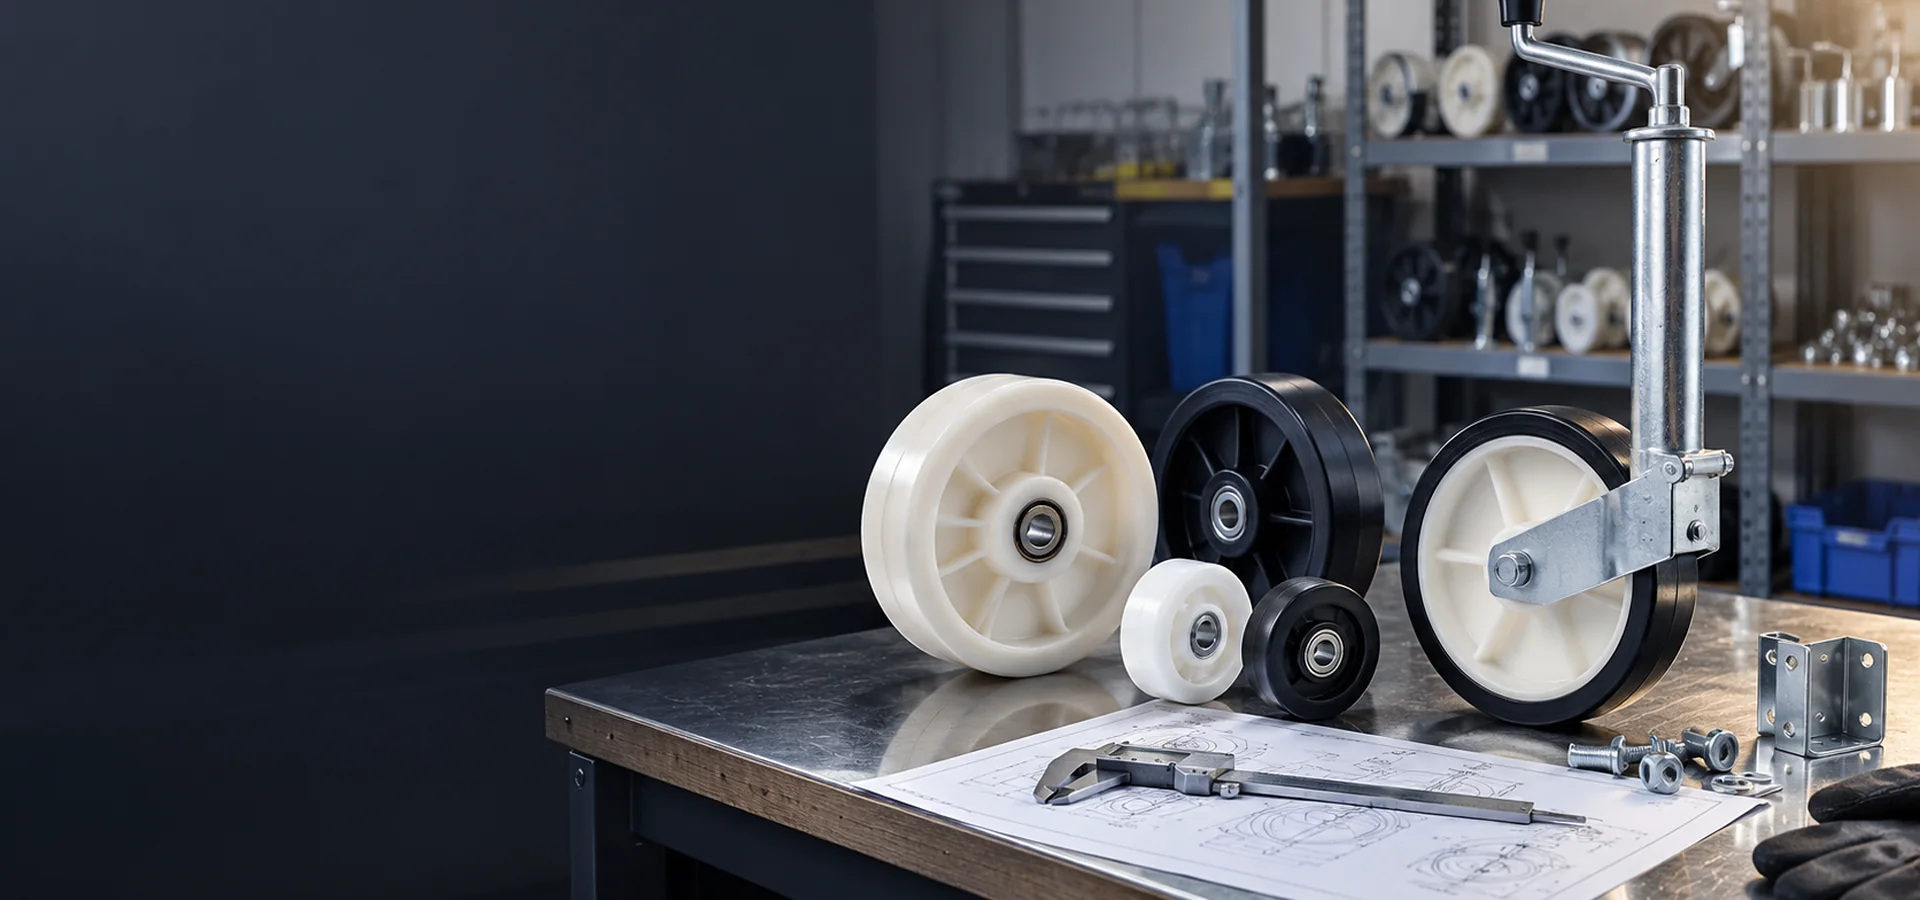
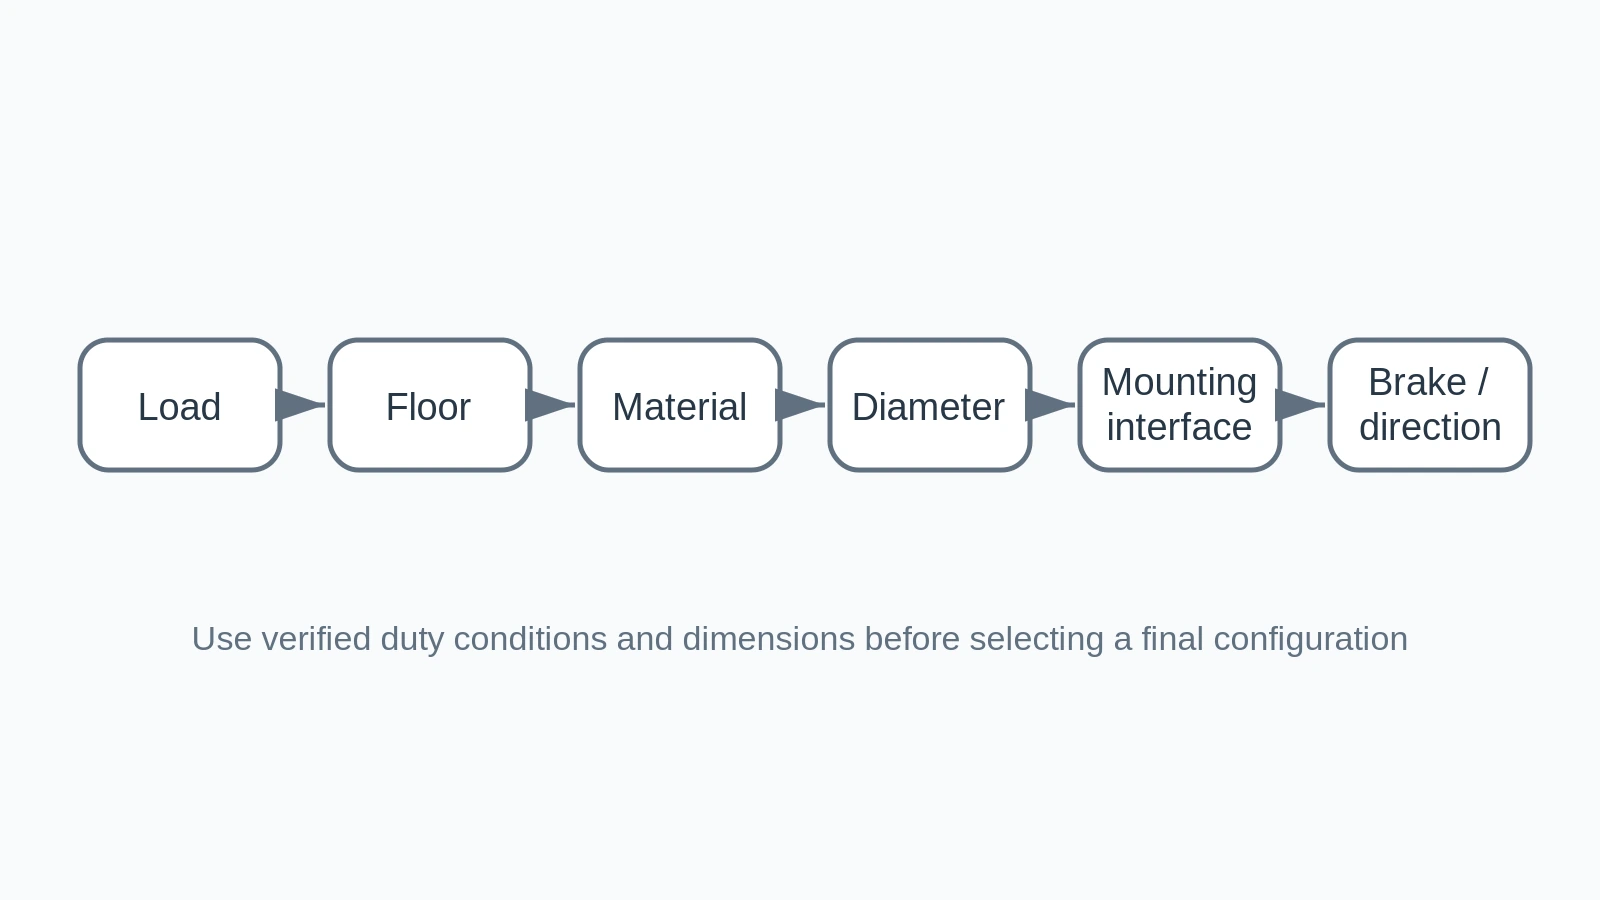
Replacement work benefits from a consistent measurement routine. Record wheel diameter and width, then move inward to the hub: bore or bearing type, axle diameter, hub length and spacers. For complete assemblies, add installed height and mounting geometry. Photograph the measurement tool in place when a dimension is difficult to describe.
Do not use worn tread as the only reference if original diameter matters. A heavily worn wheel can make the replacement appear too large when the real issue is material loss. Likewise, a bent fork or improvised spacer can change apparent offset.
Why the same load behaves differently on different floors
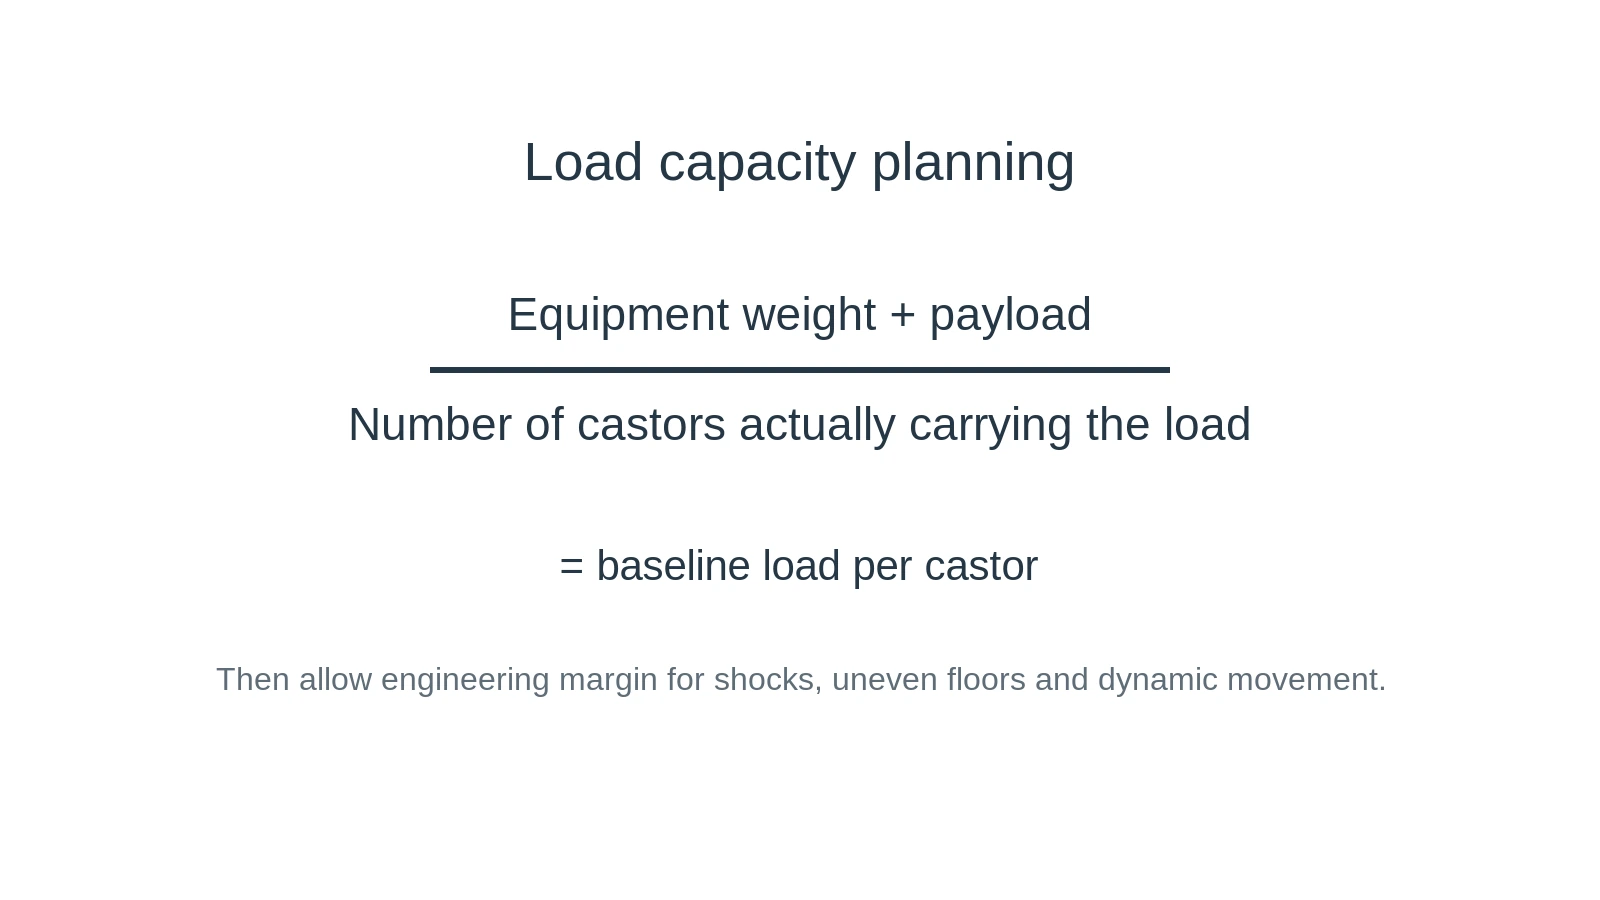
Load rating is not independent of how equipment moves. A cart crossing a threshold can create impact forces absent in a static parking condition. An uneven floor can shift load from four nominal support points to three. A trailer jockey wheel may carry a modest vertical drawbar load yet require substantial manoeuvring effort on loose ground.
Record maximum normal load, exceptional loading, floor or ground, travel distance and obstacle frequency. The combination gives a better selection basis than one gross weight.
The hub is often the hidden compatibility check
A replacement wheel can have correct outside diameter and still fail because the hub is too long, the bore is wrong or bearing width changes the spacer stack. Measure usable axle length and note whether the old assembly uses bushings, bearings, washers or shoulder spacers.
After installation, the wheel should rotate freely without excessive axial play and without being clamped through a bearing in a way that prevents rotation.
Common failure modes and what they usually reveal
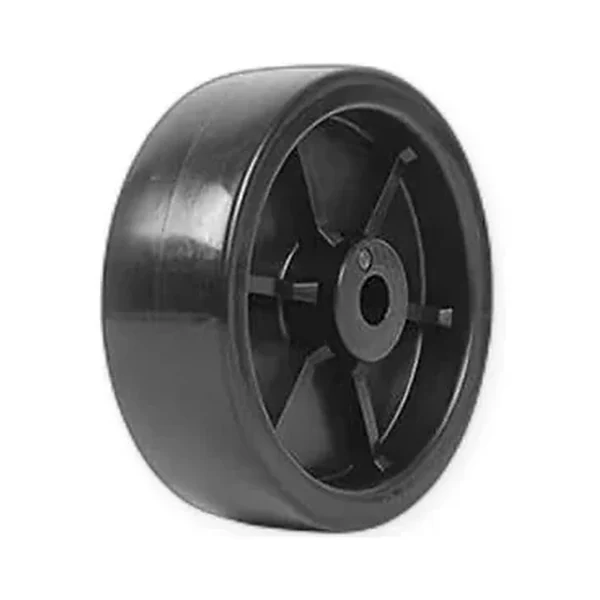
A photograph without scale or diameter without hub information can create a plausible but incompatible replacement. Similar symptoms can also come from loose fasteners, worn bearings, misalignment, contaminated floors or a frame that is no longer square. Before blaming wheel material, inspect the mounting and compare wear patterns across positions.
If only one corner wears rapidly, investigate that corner’s load and alignment. If all wheels show the same damage, review duty, floor and material specification. If wear accelerates after a process change, record the new contaminant, cleaning agent, temperature or travel pattern.
Write the requirement so another buyer can reproduce it
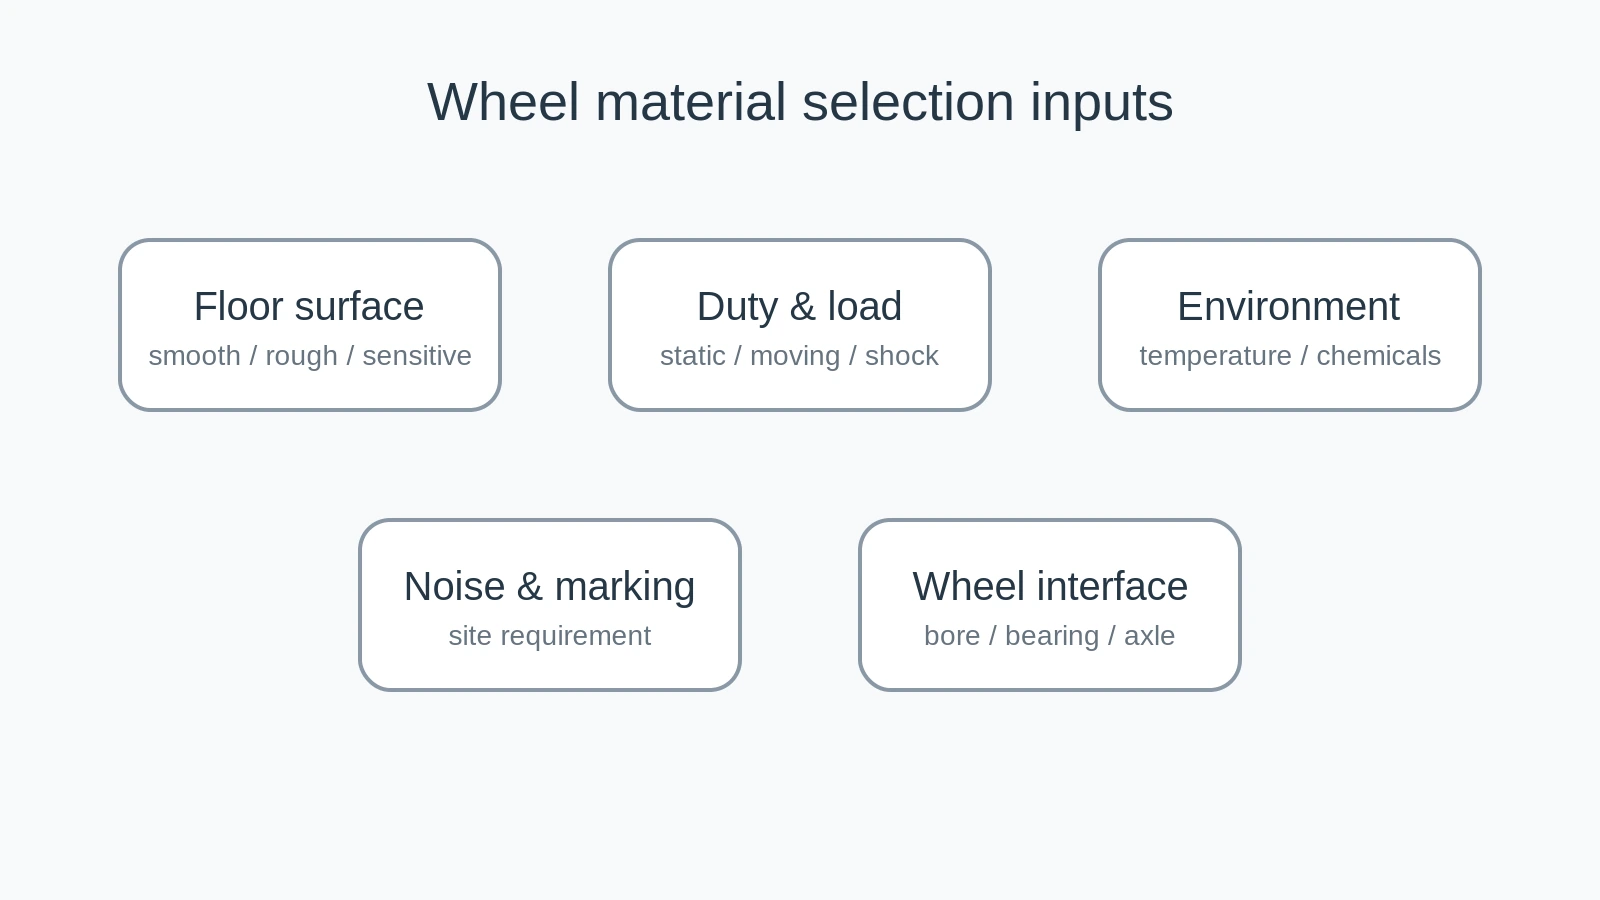
Use one line per configuration and write the requirement so another engineer can understand it without the original conversation. Include dimensioned photos/drawings, wheel and hub measurements, mounting data, load, environment, quantity and model references. Attach the correct drawing or photo set. If an interface dimension is unknown, say “measurement pending” instead of using a guessed value.
For multi-model orders, keep quantities separate and identify which dimensions are shared.
Decision checklist
- Is maximum normal load known?
- Can supporting wheels share load equally?
- Is the real floor/ground described?
- Are wheel and interface dimensions measured?
- Is control function clear?
- Are special material/finish/environment requirements stated?
- Is quantity attached to the correct model?
Continue with the primary selection page, compare current product families, or use the RFQ form.
Frequently asked questions
What is the first thing to confirm for wheel bearing play inspection?
Start with dimensions controlling fit and the relationship between wheel, axle, hub, bracket and frame. That gives the rest of the selection a measurable context.
Can a photo replace measurements?
A photo helps identification, but fit-critical dimensions should still be measured or taken from an approved drawing.
Should the buyer add a safety factor to load?
A safety allowance is commonly used to address unequal load sharing and operating effects, but the appropriate value depends on the application and does not replace the product rating.
What if the material is unknown?
State operating floor and environment, provide a sample or photo, and treat material as a confirmation item rather than guessing from colour.
Keep one approved reference
Once a configuration is accepted, retain the approved drawing, model reference and key dimensions together. Future repeat orders should still confirm that equipment and duty have not changed, but the approved reference reduces ambiguity.
Maintenance data worth keeping
Record wheel position, installation date, duty, reason for replacement and unusual floor events. In a wheel bearing play inspection program, this simple history helps identify whether wear is random, position-specific or linked to a changed environment. A wheel that fails repeatedly at one corner may point to load concentration, alignment or local contamination rather than a general material problem.
Inspect axle, spacers, bearings, bracket and fasteners when the old wheel is removed. Keep measurements that relate directly to dimensioned photos/drawings, wheel and hub measurements, mounting data, load, environment, quantity and model references. If a component has been modified in service, photograph the change before installing the new item and decide whether the modified condition should become part of the official equipment specification.
Multi-site purchasing note
When the same cart, machine or trailer operates at several sites, verify that floor, payload and maintenance practices are genuinely similar before standardizing one answer to wheel bearing play inspection. Standardization can simplify inventory, but only when the operating envelope remains compatible across locations. A warehouse with smooth concrete and a yard with expansion joints may justify different wheel decisions even on the same frame.
Use the same measurement names and units across sites and keep one controlled RFQ template. Record dimensions controlling fit and the relationship between wheel, axle, hub, bracket and frame. This reduces unit-conversion mistakes and makes supplier comparison more consistent when purchasing consolidates quantities from several facilities.
Commissioning observation
Commission a new or replacement configuration for wheel bearing play inspection under controlled load and low speed before normal operation. Watch for rubbing, bracket contact, wheel wobble, steering instability, fastener movement and any change in deck or drawbar height. The goal is to test the assumptions made during selection rather than merely confirm that the wheel turns.
For replacement programs and OEM enquiries where fit must be established from an existing assembly or drawing, include the most demanding normal floor or ground transition in the initial trial. If the system must cross a threshold, ramp or rough joint, observe it there. Document the result with the same model reference used in the RFQ so future repeat orders have a useful baseline instead of relying on memory.
Frame the decision around the equipment
The practical value of “How to Check Wheel Bearing Play Before Installation” is not a universal yes-or-no answer. The useful boundary is the equipment and duty in which the question occurs. Write down wheel diameter, width, bore or bearing, hub length, axle or fixing dimensions, installed height and surrounding clearance. Keeping these fields together makes it possible to distinguish a product-identification question from an engineering selection question and prevents a visually similar part from being treated as automatically interchangeable.
Use the most demanding normal condition rather than a best-case description. If the equipment sometimes crosses a threshold, works outdoors, carries an uneven payload or is manoeuvred only after long periods of static load, include that condition. The objective is a repeatable requirement that another engineer or buyer can understand without seeing the original component.
Collect the dimensions that remove ambiguity
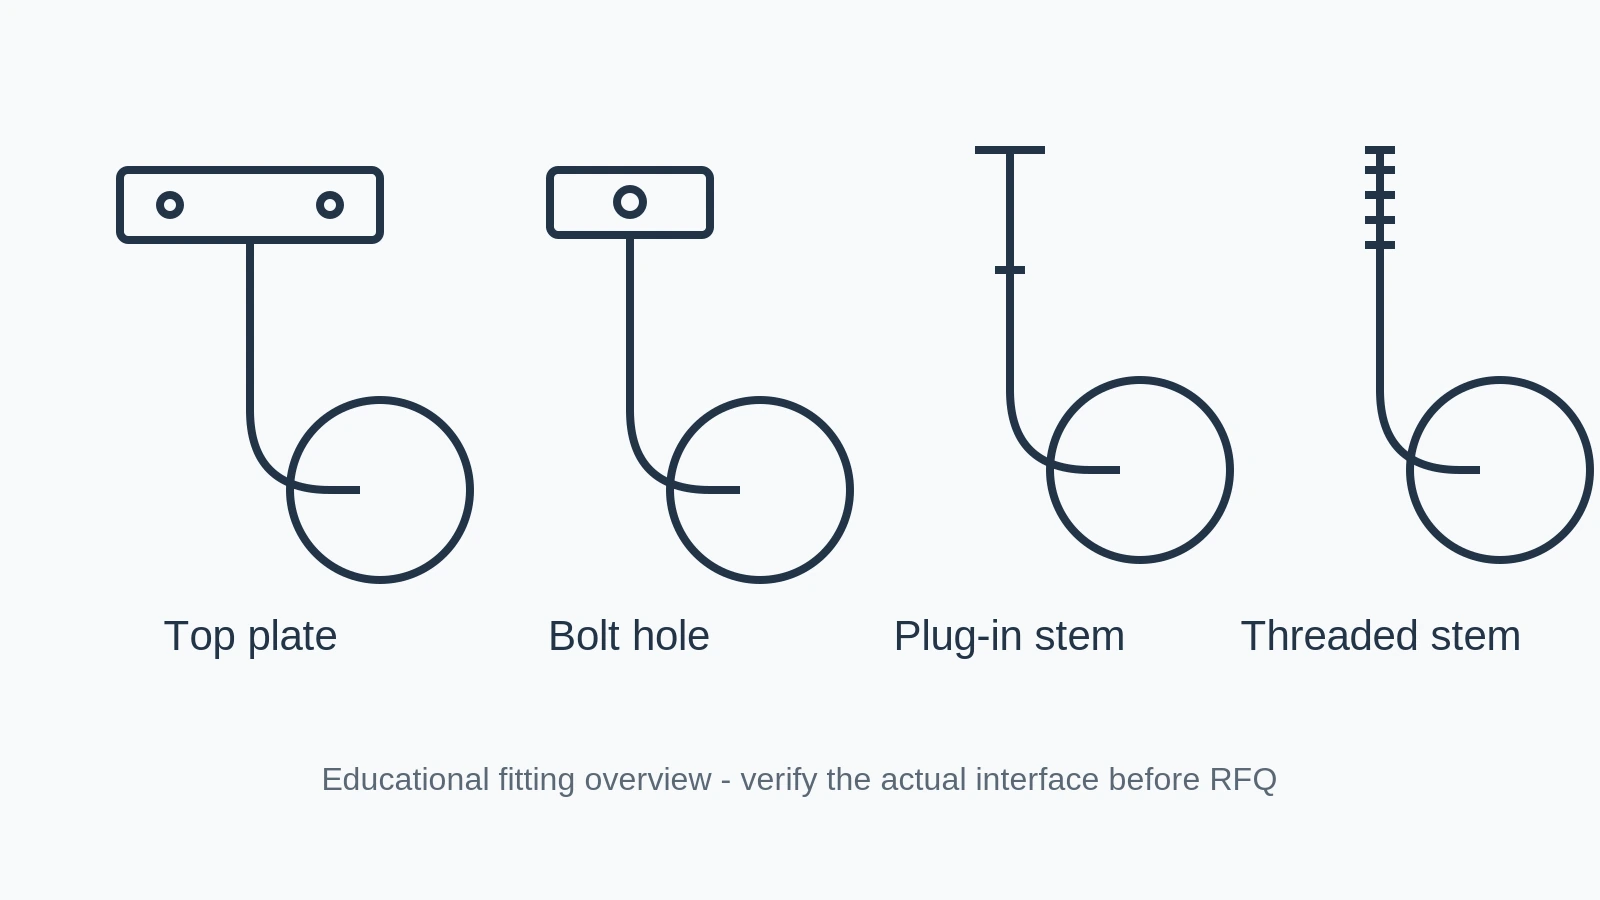
For this topic, record wheel diameter, width, bore or bearing, hub length, axle or fixing dimensions, installed height and surrounding clearance. Use dimensioned photographs where a drawing is unavailable and show the reference points used for each measurement. If the old part is worn, bent or repaired, flag the affected dimension instead of treating the damaged geometry as the design target.
A comparison sheet works best with one configuration per column or row. Keep measured values, required values and optional preferences separate. That simple separation reduces the chance that a supplier proposal or an old catalogue value is copied into the required specification without review. It also makes later quotation revisions easier to audit.
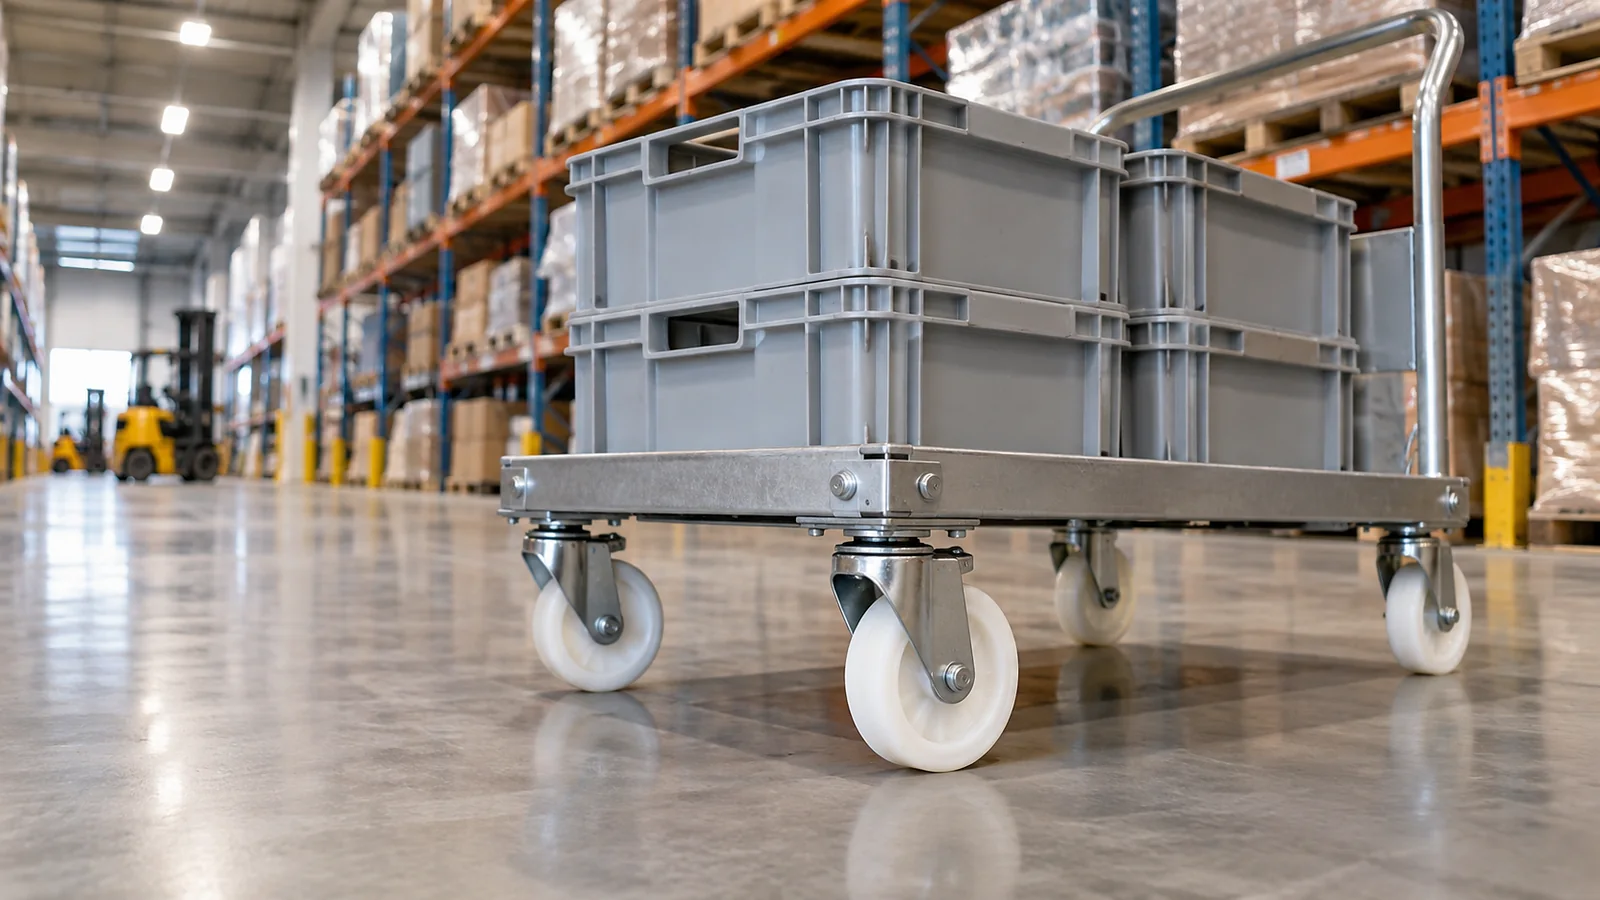
Use a controlled trial before routine service
After a candidate is installed, compare the new component with the old part and the equipment interface before applying full load; rotate it by hand and check spacer, fastener and side-clearance relationships. The first trial should be slow enough to observe the wheel and mounting rather than merely prove that the equipment can move. Look for rubbing, unexpected side movement, fastener movement, wheel wobble, interference and a change in operator effort.
If the result is unsatisfactory, record the symptom before changing several variables at once. One controlled change—such as wheel diameter, material, mounting alignment or steering layout—gives more useful information than changing the whole assembly and losing the cause of the original problem.

Preserve a concise acceptance record
Keep dimensioned photographs, drawing revision, measurement units, axle or plate references, quantity and the equipment group that uses the configuration. The record does not need to be long; it needs to be unambiguous. Tie the accepted dimensions and application notes to the model or purchasing reference used on the order. For mixed-model projects, keep each configuration on its own line so a dimension, finish or quantity does not migrate to another item during revisions.
For sample evaluation, state what the sample is intended to prove: physical fit, material behaviour, steering, braking, appearance or another defined point. Once that question is answered, update the controlled record before a production order is released.
Do not let an old part number hide a new duty
The conclusion in this article should be revisited when one of the original assumptions changes. For “How to Check Wheel Bearing Play Before Installation”, that can include a heavier payload, different floor, new obstacle, altered frame, changed cleaning process, new travel frequency or a revised mounting interface. A repeat order is not automatically a repeat application.
When conditions remain unchanged, the earlier acceptance record becomes valuable because it reduces repeated measurement work. When conditions change, the same record shows exactly which assumptions need to be rechecked rather than forcing the team to restart from a photograph or memory.
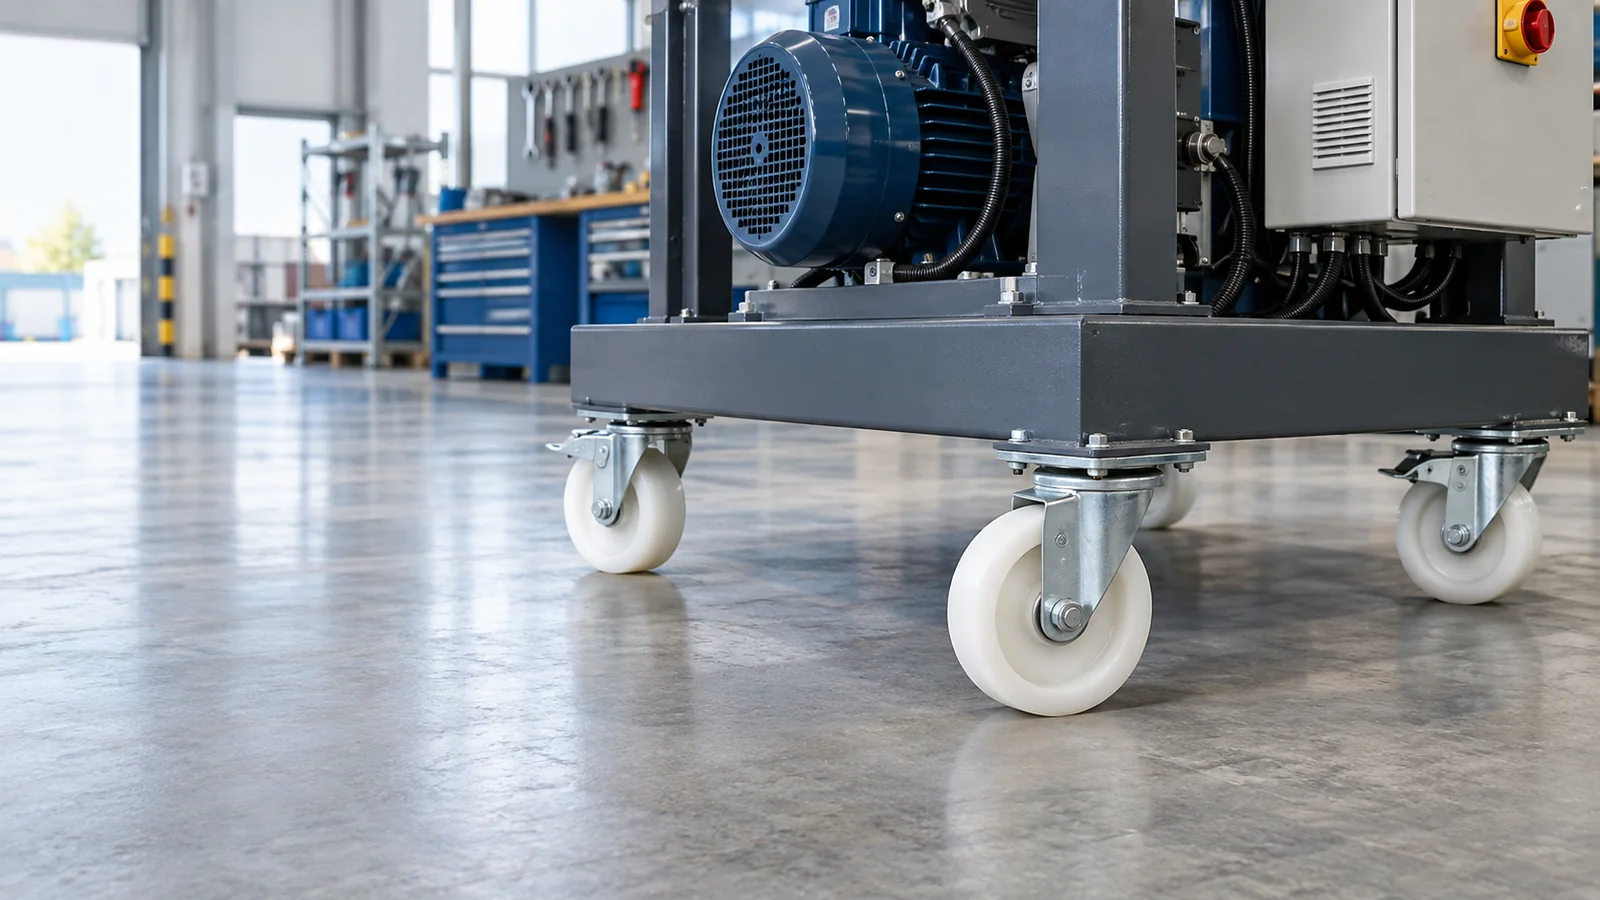
Use the same checkpoints when the replacement for “How to Check Wheel Bearing Play Before Installation” arrives
The quickest way to catch a mismatch is to compare the received part against the same dimensions recorded at the RFQ stage. Check the fit-controlling interface first, then overall envelope and free movement. Where bearings or sleeves are present, verify that they seat correctly and rotate without binding before the equipment is returned to service.
Keep the accepted measurement sheet with the equipment record. That turns a one-off replacement exercise into a reusable sourcing reference and reduces the risk that a future buyer relies on a photograph or supplier description that omits the dimension that originally controlled fit.
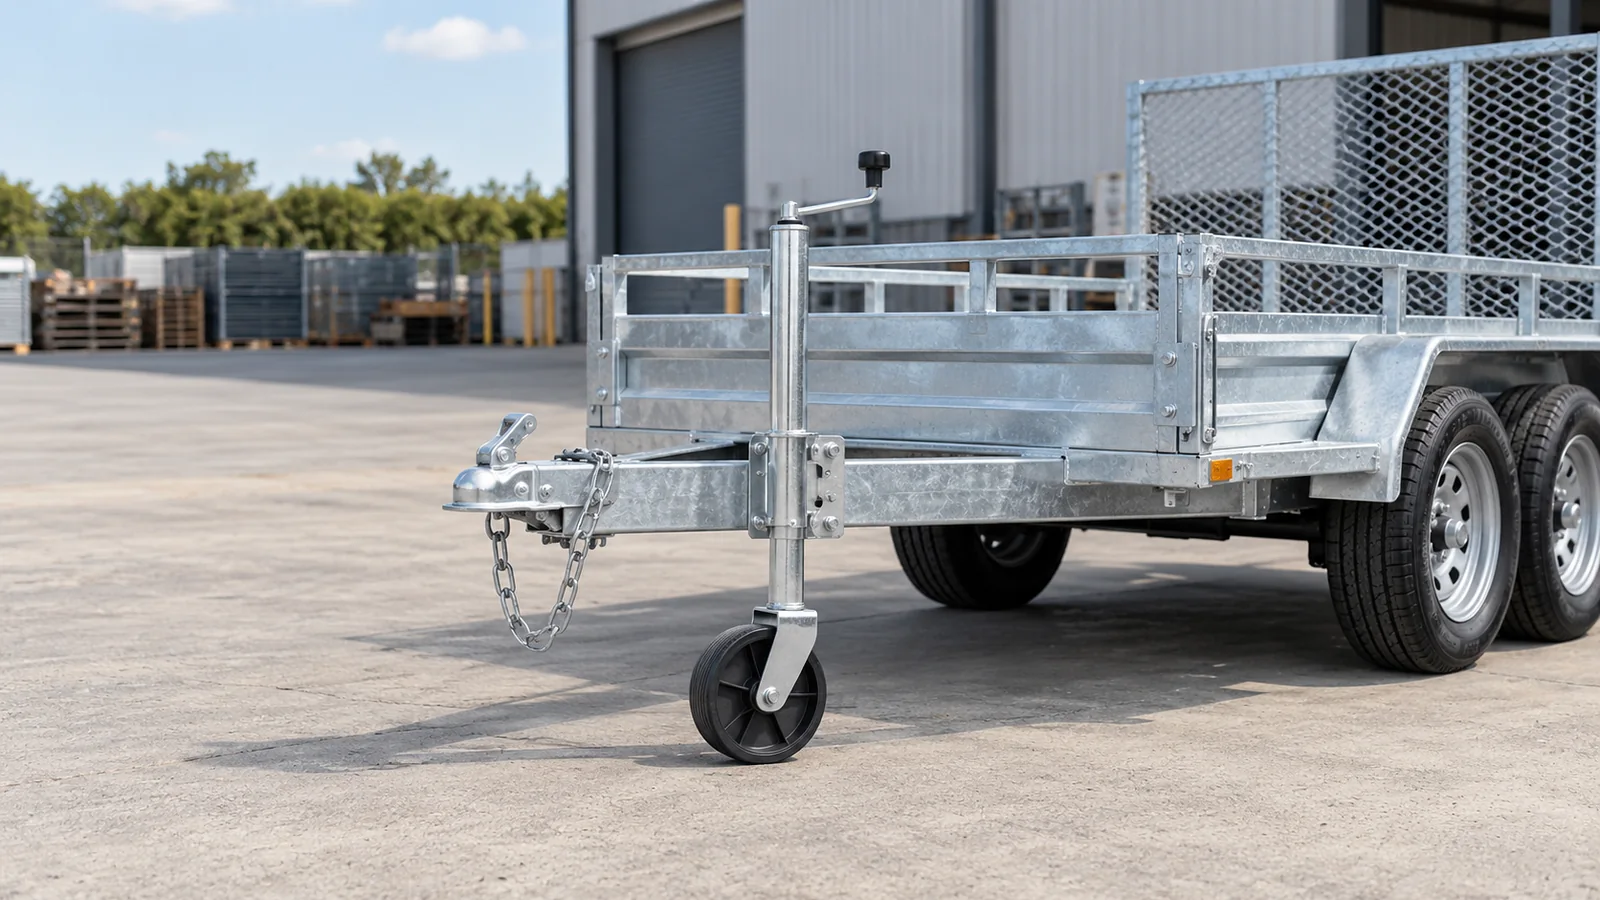
Turn the inspection for “How to Check Wheel Bearing Play Before Installation” into a usable drawing note
Write measurements in a consistent order and state where each dimension starts and ends. For a loose wheel that normally means outside diameter, tread or wheel width, bore or bearing ID, hub length and any shoulder or spacer detail. For a castor or support assembly, add installed height, plate or tube dimensions, hole spacing, offset, adjustment travel and clearance envelope as relevant.
Photographs should support those dimensions rather than replace them. Include a straight-on side view, the opposite side, the mounting interface and a scale or caliper where practical. Mark uncertain values instead of estimating them from perspective, because a few millimetres at an interface can decide whether a replacement actually fits.
Discuss your wheel bearing play inspection requirement
Send the application, load, fit-controlling dimensions, quantity and any relevant photo or drawing. We will use those inputs to narrow the product family without guessing.